
This work is licensed under a Creative Commons Attribution-ShareAlike 4.0 International License.
About
Last Updated [06/11/2019]
Created by OSU Maps and Spatial Data

Table of Contents
- Introduction
- [Digitizing in ArcGIS Pro]
-
- Starting a New Project
-
- Adding Files
-
- Digitizing
-
-
- Feature Dataset
-
-
-
- Feature Class
-
-
-
- Point Features
-
-
-
- Line Features
-
-
-
- Polygon Features
-
-
-
- Deleting Features
-
-
-
- Saving
-
-
- Editing
-
-
- Auto-complete Digitizing
-
-
-
- Merge
-
-
-
- Split
-
- Conclusion
- Further Reading/Resources
Introduction
Digitizing allows image data to be converted to vector digital data. This is accomplished by manually digitizing objects by tracing lines or adding points based on the source media.
Starting a New Project
- To begin a new project, open ArcGIS Pro on your desktop.
- Click Map under New, Blank Templates.

- Name the project and choose a file location that will be easy to access. Then click OK. A new world map should open.
Adding Files
Now that a new project has been created, a folder connection must be added to import data.
- To do this, click Add Folder under the Insert tab of the toolbar to create a folder connection.

- Select the desired folder and click OK.
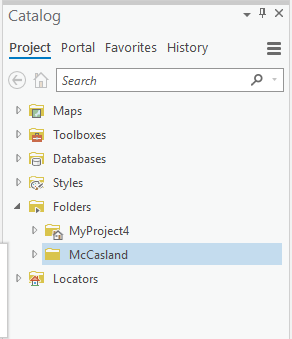
- The folder connection should appear under Folders in the Catalog pane.
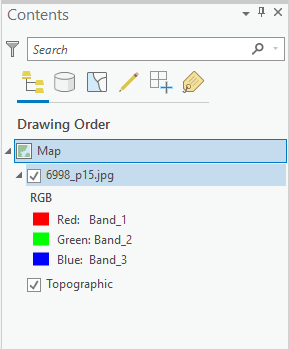
- Locate desired data. Right click the file and click Add to Current Map. The selected file is now added to the project and should appear in the Contents pane. It is okay if the raster is not displayed on the map as long as the file is visible in the Contents pane.
Note: For georeferencing in ArcGIS Pro, JPGs are the preferred file type.
Digitizing
Images are turned into vector digital data through the proccess of manually digitizing the images.
Feature Dataset
Feature datasets are collections of related feature classes that share a common coordinate system. They are used to integrate related feature classes and organize them into a common dataset.
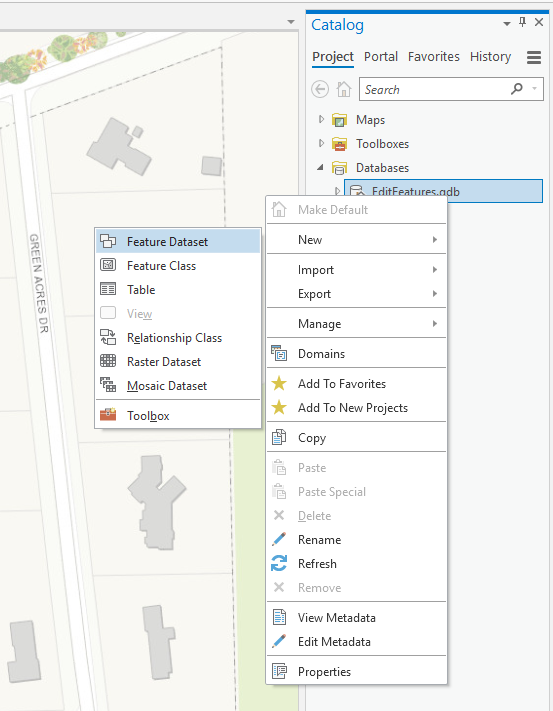
- To create a feature dataset, right click the desired GDB file in the Databases folder of the Catalog pane.
- Select NEW and Feature Dataset.
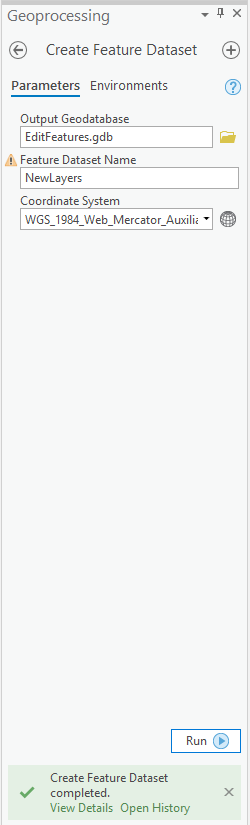
- A geoprocessing pane should appear. Give the dataset a title and select the desired coordinate system. Then click Run at the bottom of the pane. Once this process is complete, a green box should appear at the bottom of the geoprocessing pane declaring success.
Feature Class
Feature classes are collections of common features, such as points, lines or polygons, that have a common set of attribute columns.
1.To create a feature class, right click the desired GDB file in the Databases folder of the Catalog pane.
- Select NEW and Feature Class.
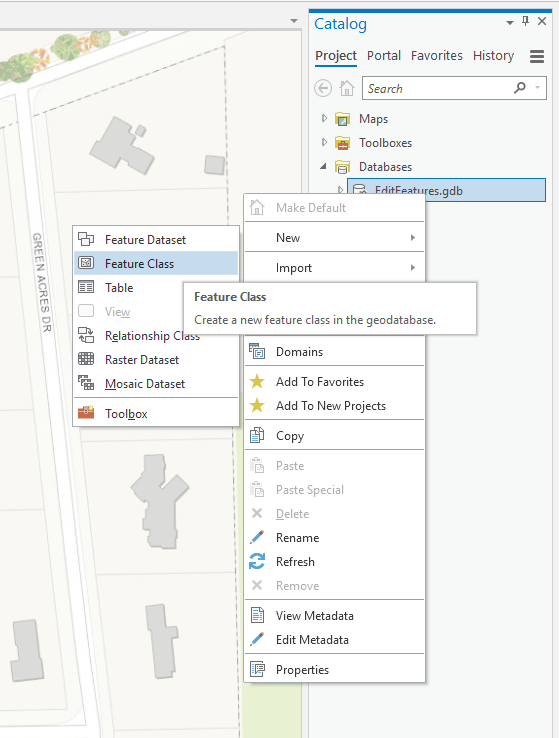
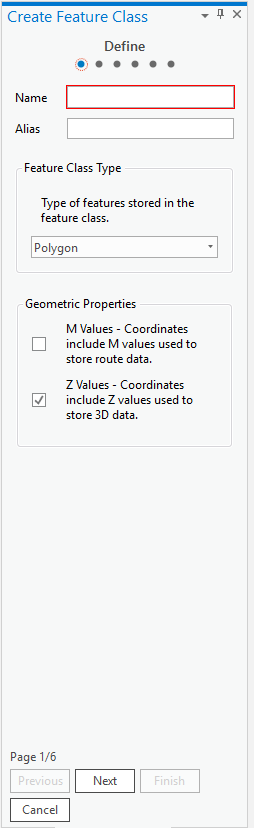
- A Create Feature Class pane should appear. Give the class a name, select the desired feature class type and continue through the next few pages. These pages allow you to import fields, select the desired coordinate system, set tolerance, alter resolution and specify storage configuration.
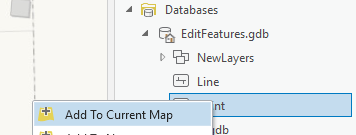
- The new feature class will appear in the catalog pane under the feature database that was previously created. To add the layer to the project, right click and select Add to Current Map. A new layer should appear in the Contents pane.
Point Features
- To add point features, be sure to select Point as the desired feature class when creating a feature class.
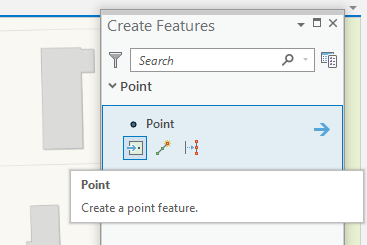
- Go to the Edit tab of the toolbar and select Create. A Create Features pane should appear.
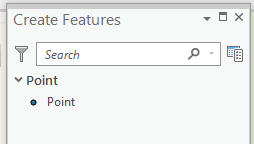
- In the Create Features pane, select the layer you want to digitize. A few tools will appear under the layer. Select Point. Points can now be added as desired.
-
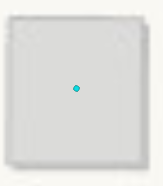
To add a point, simply locate an object you would like to mark and click in the center of the object.
-
Continue adding points as desired.
Line Features
- To add line features, be sure to select Line as the desired feature class when creating a feature class.
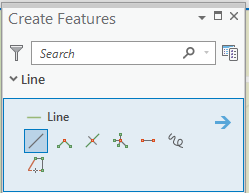
- Go to the Edit tab of the toolbar and select Create. A Create Features pane should appear.
- In the Create Features pane, select the layer you want to digitize. A few tools will appear under the layer. Select Line. Lines can now be added as desired.
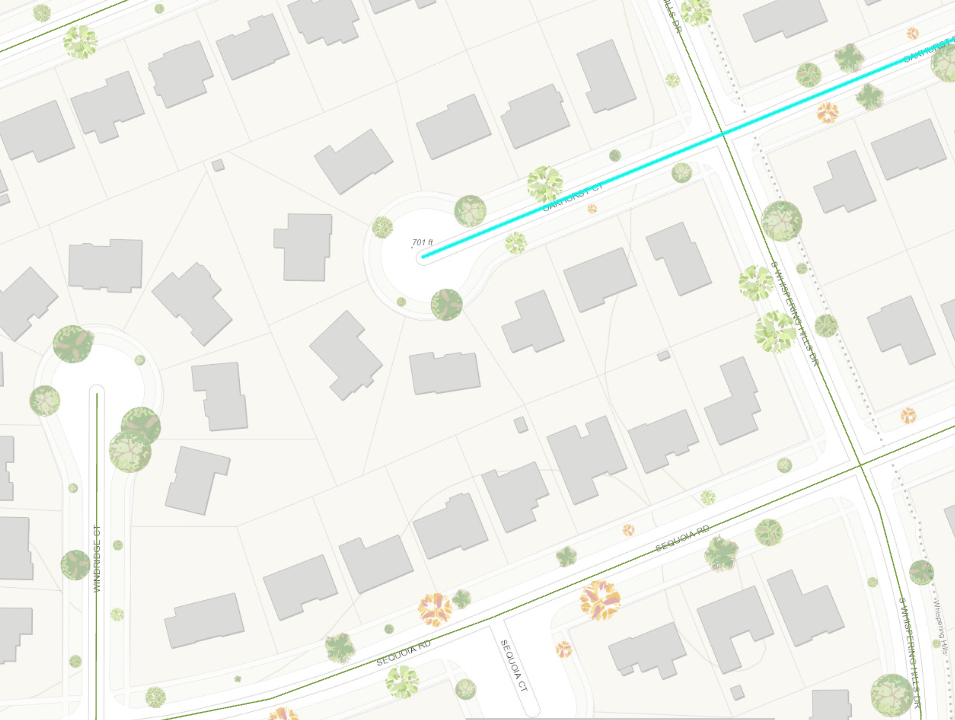
- To create a line, decide where the line should start and click. A vertex should appear. Add another vertex to create a line.

- More vertexes can be added to create a longer line or to manipulate the shape of the line.
Polygon Features
- To add polygon features, be sure to select *Polygon** as the desired feature class when creating a feature class.
- Go to the Edit tab of the toolbar and select Create. A Create Features pane should appear.
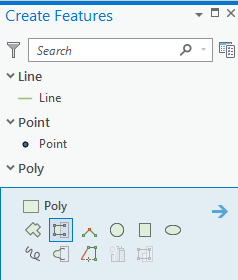
- In the Create Features pane, select the layer you want to digitize. A few tools will appear under the layer. Select Polygon. Polygons can now be added as desired.
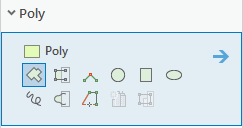
- To create a polygon, decide where the polygon should start and click. A vertext should appear. Add another vertex to create a line and continue this process until the shape is closed.
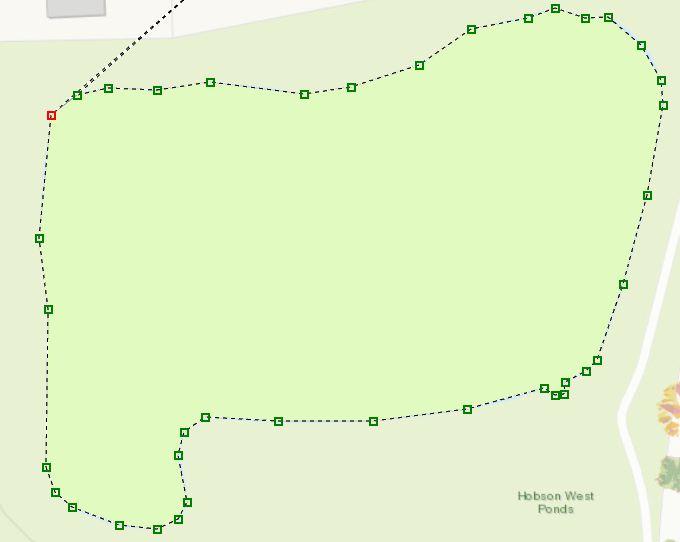
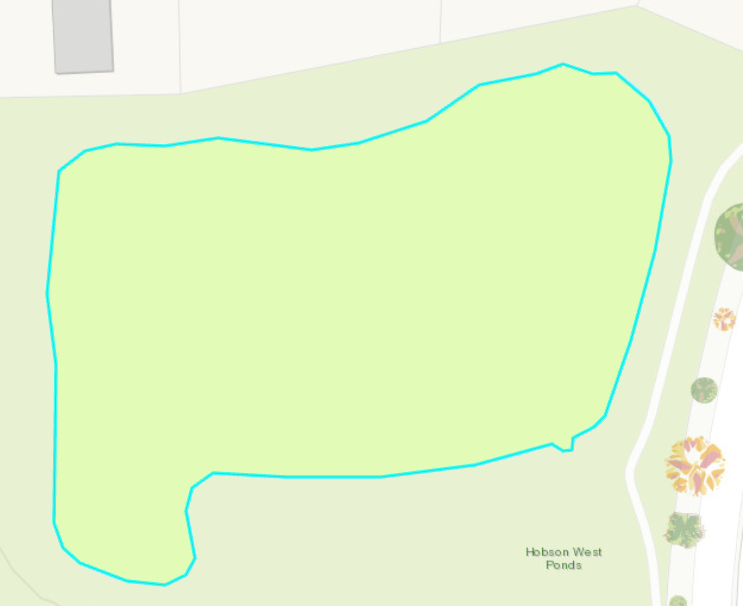
- To finish a polygon, double click on the last vertex that was placed. The polygon outline should appear highlighted.
Deleting Features
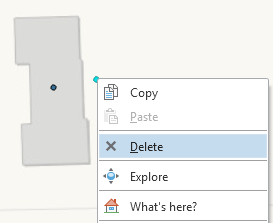
- To delete a digitized feature, click Select in the Edit tab of the toolbar.
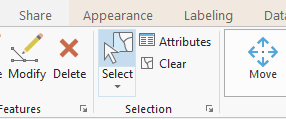
- Right click the feature you wish to remove and click Delete. The feature should disappear.
Saving
Be sure to save your work periodically. The save icon in the top left corner of the screen does not save digitization edits.
- To ensure digitizing is saved, click Save in the Edit tab of the toolbar.
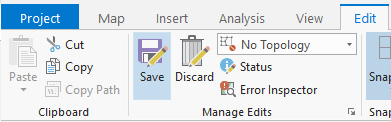
- A pop up should appear. Click Yes to save all edits.

Editing
Digitized features may be edited after they are created. The three most common editing tools include auto-complete digitizing, merging and splitting.
Auto-Complete Digitizing
Auto-complete digitizing allows a polygon to be created that abudts an existing polygon. This means the shared line does not have to be digitized more than once, which can lead to complications such a slivers.
- To auto-complete a polygon, open the Create Features pane and select Autocomplete Polygon.
- Select a starting point on the existing polygon feature and outline the new feature that you would like to digitize. Be sure the end point is on the exisitng polygon feature.
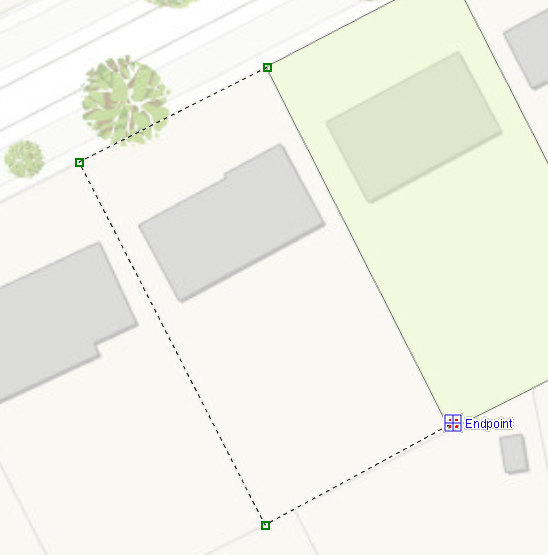
- Double click to complete the new polygon. Now two polygons have been created without duplicating a line.
Merge
Merge is a tool that allows different features to be merged into one.
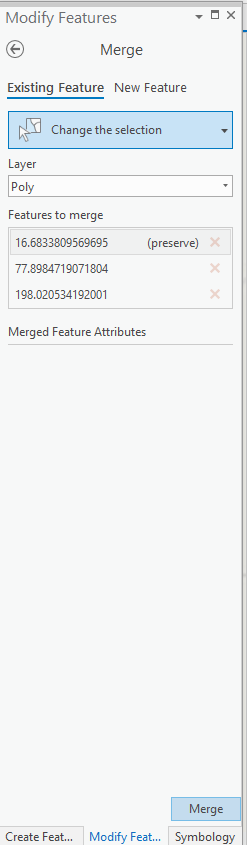
- To merge digitized features, click Merge under the Edit tab.

- A Modify Features pane should appear. You can select the desired features in one of two ways:
-
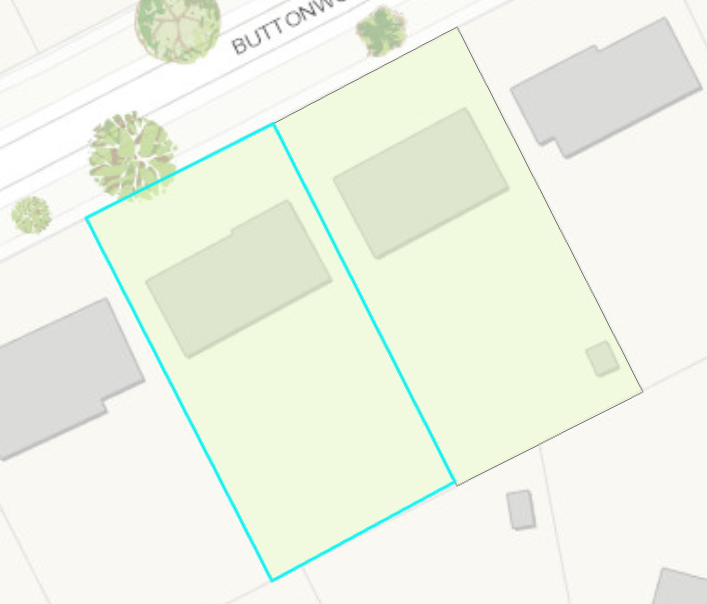
- With the Merge tool activated, click on the first desired feature. Hold down CTRL on the keyboard and select the remaining features. The features will appear highlighted.
-
- Use the mouse to draw a box around the desired features by left clicking and holding as you drag the box over the desired area. The features will appear highlighted.
-

- After the features have been selected, click Merge in the bottom right hand corner of the Modify Features pane. The features are now merged into one single polygon.
Split
Splitting polygons is the opposite of merging.
- To split polygons, select Split under the Edit tab.

- Draw a line where you would like to split the existing polygon.
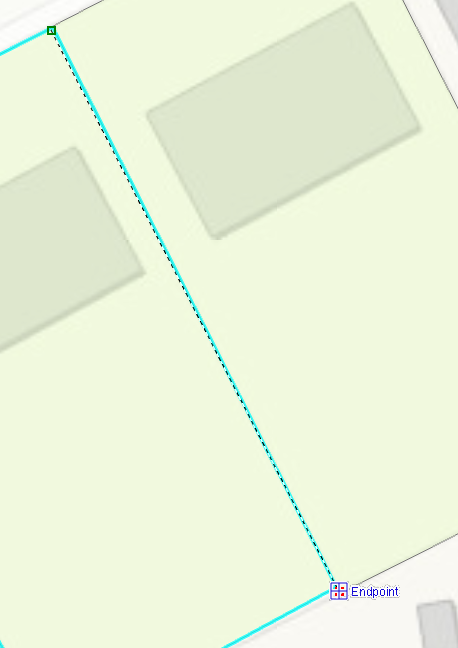
- Double click at the end point to split the polygon into two seperate polygons.

Conclusion
ArcGIS Pro offers many tools that are useful for digitizing and editing data.